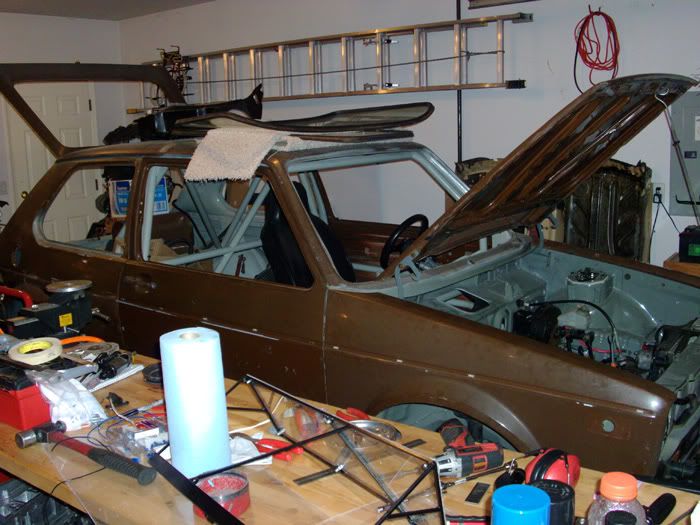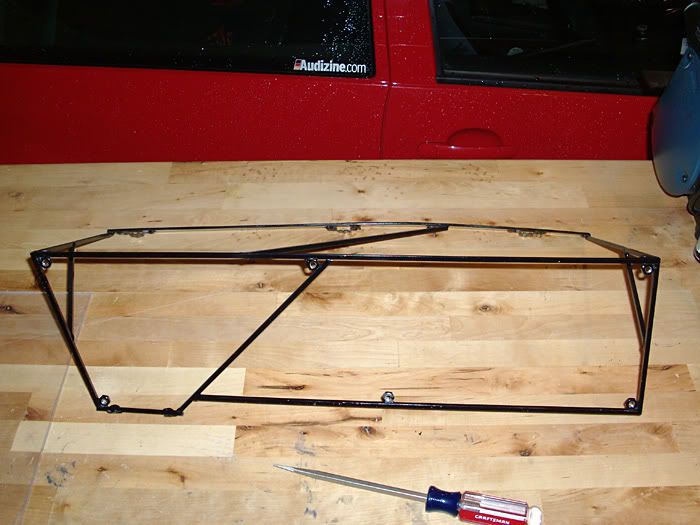
It's a 1978 VW Rabbit GL. Diesel chassis. I've had the chassis for roughly 7 months now and I still have a long way to go. I picked up the project from the previous owner who was building it for ICSCC Club Rabbit racing. http://www.tillier.net/fab/rabbit/intro.shtml I bought it as a rolling chassis only. Specifically for the 6-point cage in a '78 Diesel chassis and it is rust free! It'll make for a good club racer...
So far I have in it:
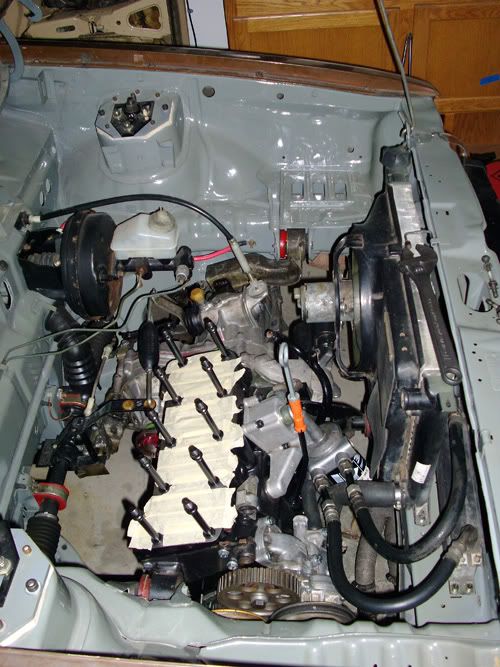
- 9A 2.0L bottom end
- 11:1 Izumi pistons
- JH 8v cylinder head w/ oversized swirl polished valves & porting
- DCOE 45 carbs
- TT 306* camshaft
- TT valve springs & retainers
- Autotech aluminum oil pan
- Volvo turbo oil cooler
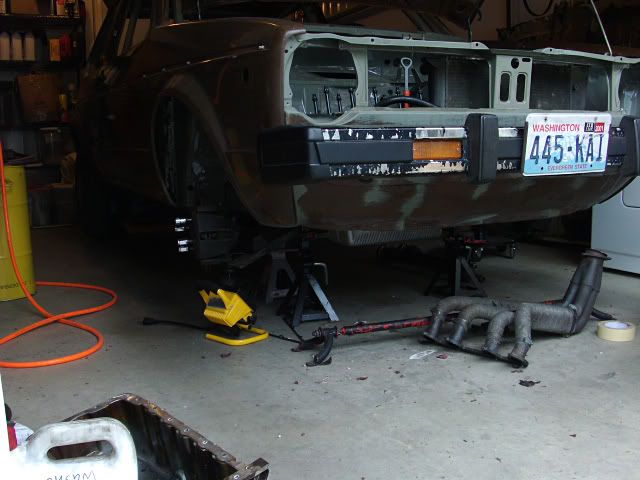
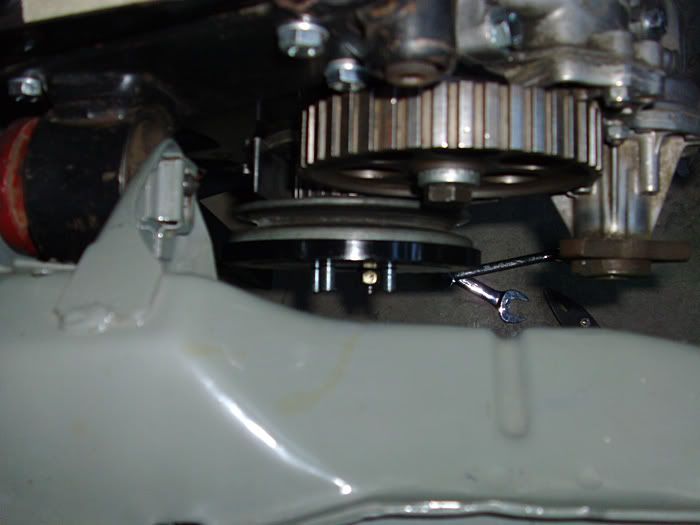
- Custom header w/ 2.5" collector
- Custom 2.5" exhaust w/ a Edelbrock RPM series muffler & a SuperTrapp
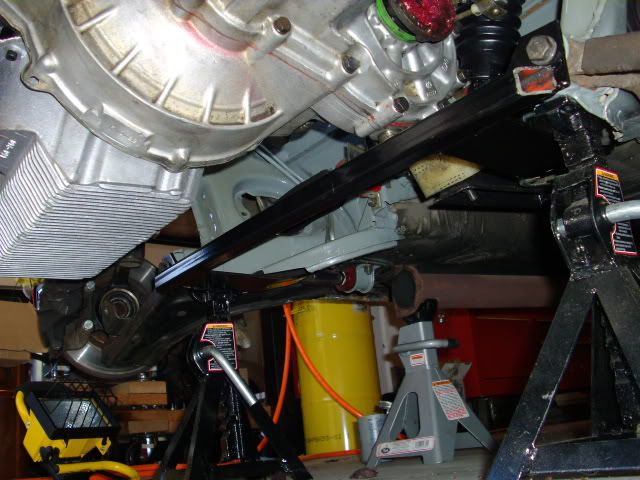
- FK close-ratio transmission
- Eurospec flywheel
- Mk III starter
- Custom shortened axles
- Delrin rear trans mount
- Polyurethane engine / trans mounts
- Fully boxed A-arms with raised ball joints
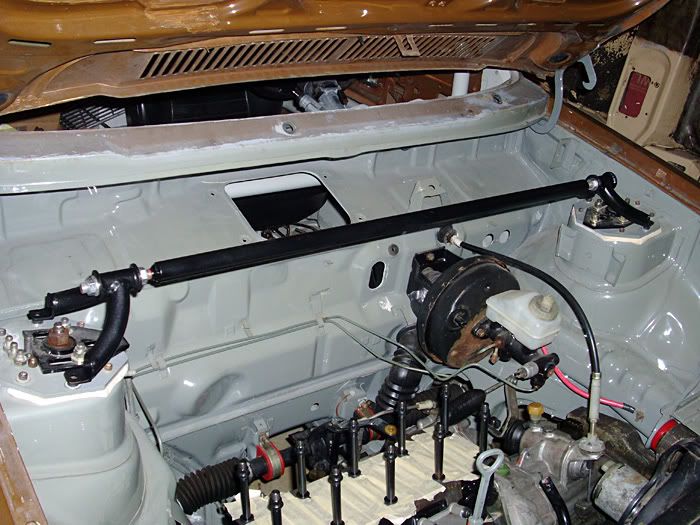
- H&H front brace w/ BFB
- Custom front strut brace
- SRS Camber plates
- 10.1" front brakes
- Mk III rear disk brakes
What it still needs:
- MJLJ installation
- Suspension
- Front wheel bearings
- Ball joints
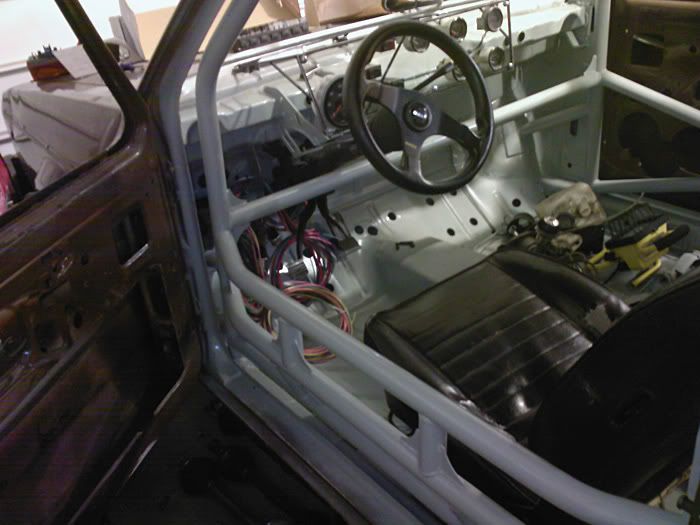
- Tie in the cage at the A & B pillars
- Glass
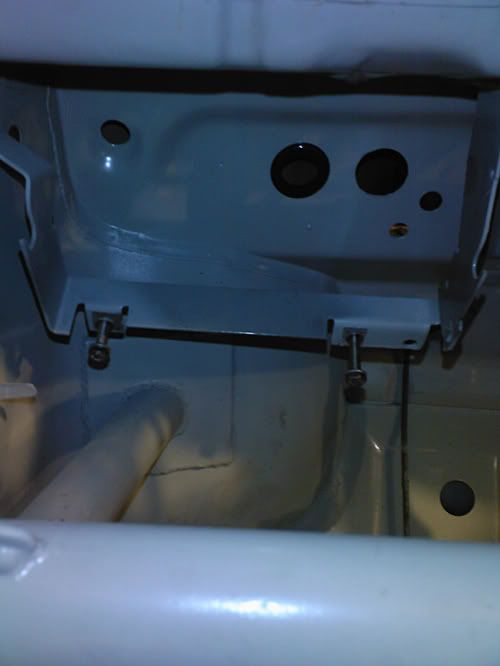
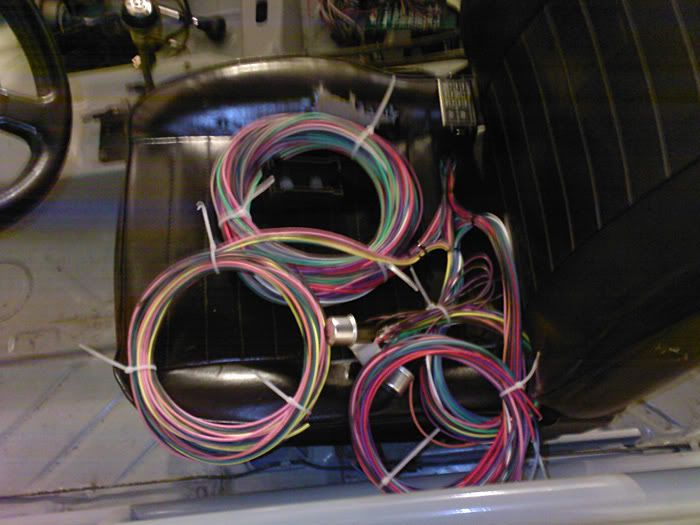
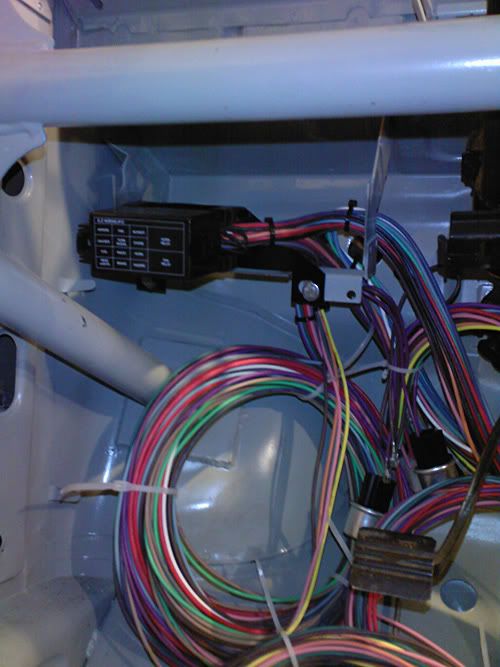
- Wiring
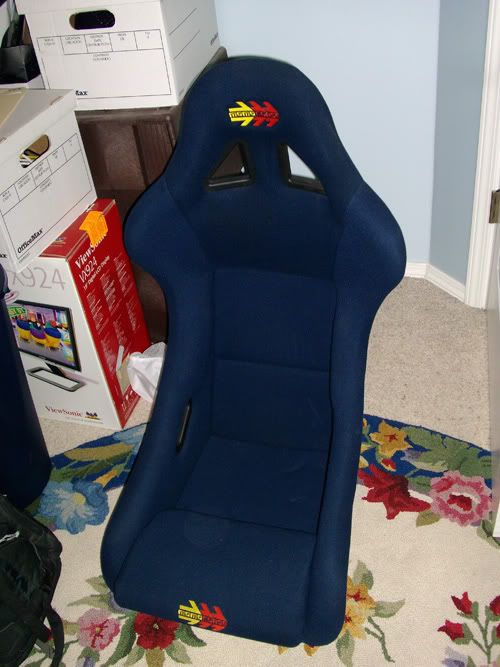
- Seats
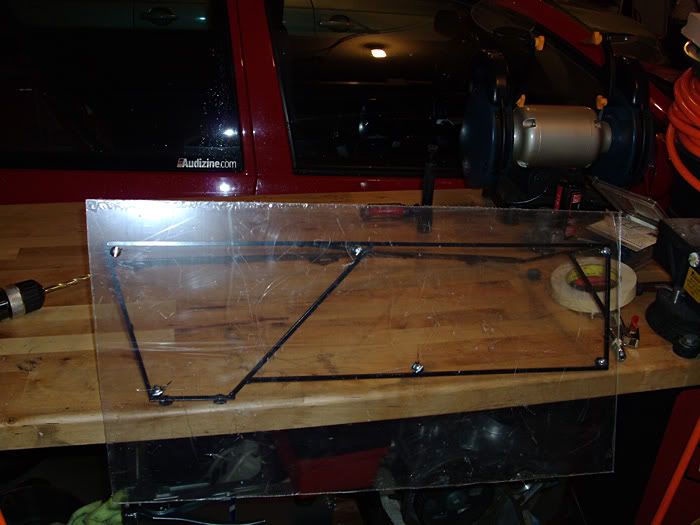
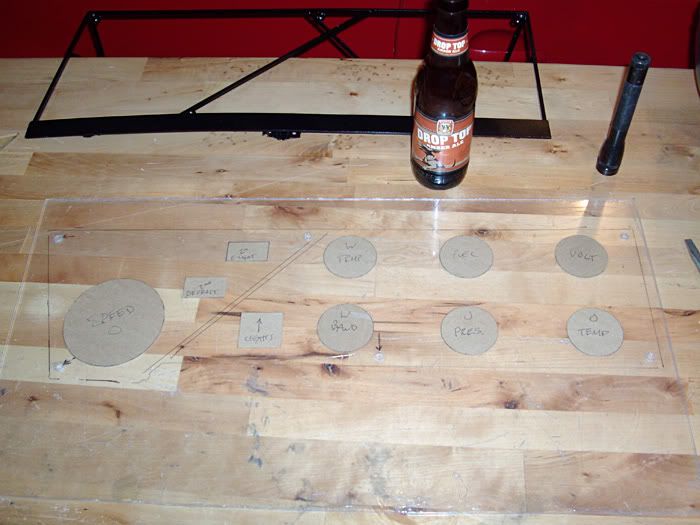
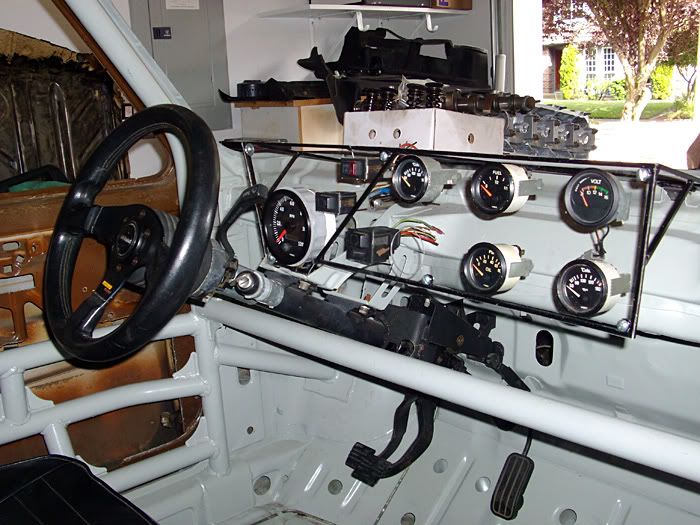
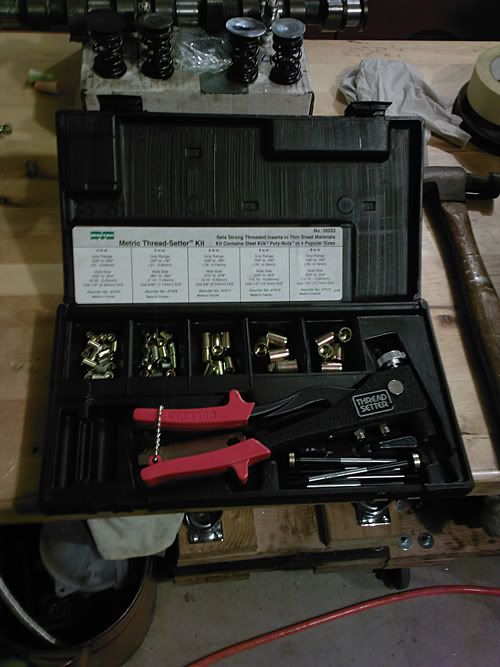
- Dash & etc.
- Wheels & tires
Here it currently sits: